Pumpkin Carving Tips with Kids
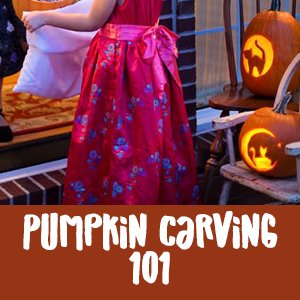
 Halloween is coming up and while collecting candy is cool decorating the house is one of our favourite activities at Kinder Buddies! Today we will go over some tips on carving pumpkins with your little ones! Trick or Treating this year? Check out our Halloween Safety Tips!
Choose a Design
Before choosing a pumpkin you will want to choose your design first! Some designs may be easier on a bigger pumpkin, while some designs rely on a smaller pumpkin. Here is a list of where to find designs!
- In store carving kits usually come with some stencils (Grocery Store/Dollar Store/Party City)
- Online – Pumpkin Lady has plenty of free stencils!
- Disney Pumpkin Stencils (free)
- Want to make your own design? Tech savvy parents with Photoshop can follow this tutorial to make their own stencils!
Get your Tools
To carve your pumpkin you will need something to scoop and scrape the insides and then knives to carve the pumpkins. While you can definitely find capable tools within your home already we do recommend purchasing a small carving kit to make everything safer for your child. While you should always supervise and help your child while carving, carving tools are a little safer. Some places you can get your tools:
- Dollar Store
- Grocery Store
- Online (Amazon)
- Wal-Mart
- Party City
Step 1: Cut a hole in the top
You want to cut a hole in the top of your pumpkin in order to be able to scoop the insides and later put a candle inside. Use one of the carving tools to cut a hole a little bit bigger than your fist. Make sure to carve at an angle to make it easier to put the top back on afterwards.
Step 2: Scooping
The most tedious (but most important step) is to scoop the insides of your pumpkin. To make clean up easier we recommend doing this step outside on a cut open garbage bag. Have a garbage pail ready to empty the scooped parts into. If you are interested in keeping the seeds set aside a bowl for seeds to be roasted later.
Scooping is the easiest job to include your kids in. Even toddlers can help start the process while an adult may need to clean up the final parts. The cleaner your pumpkin the easier it is to carve.
Step 3: Your Stencil
There are many different ways to get your design onto your pumpkin before you start carving.
- Cut out the stencil and tape it (tape loops) to the pumpkin
- Hold the stencil on the pumpkin while you trace the stencil with a marker
- Use a tool to punch holes around the stencil while you are holding the stencil against the pumpkin
Step 4: Carving your Pumpkin
Since you have already set up your stencil carving it the last and most difficult step. Depending on how old your child is they may or may not be able to help you. If your child is old enough to help carve make sure you are always with them. For more intricate details make sure to go slow!
Step 5: Add a Light!
Your pumpkin is now down and ready for you to add a light. Traditionally people have used candles to light their pumpkins but with the technology available it is much safer to place an electric tea light in instead.
What other traditions does your family follow? Let us know!

 Previous Post
 Next Post